Restore reliability and bring back bling to your blocks with these simple tips
We all know that guy — the one who seems to find new ways to destroy any duck or goose decoy in his midst. He leaves decoys in the back of his pick-up until July 4 or so — including the ones he borrowed from you two years ago and never returned — and in an unceremonious act of glory, tosses them behind the garage so they can be dealt with later.
Perhaps you are that guy.
It could be a broken decoy line, a missing head or busted keel that’s keeping that pile of decoys in the corner of the garage unaddressed, just high enough to constantly remind you that something needs to be done with them.
Repairs
While every waterfowl hunter has a long list of wants and needs, most of us have plenty of decoys that sit idle season after season for various reasons. Perhaps you take really good care of your decoys but in the heat of battle forget about the few that will inevitably end up in disrepair. Dealing with decoys is a lot like managing a baseball team: phase new decoys in regularly and, as the season progresses, relegate others to the disabled list. Some of those game-worn blocks will end up being sent down to the minors for rehab, to be called up to the bigs only on those days when a massive spread is required.
My grandparents gave me a dozen mallard floaters when I was 12 years old, more than 30 years ago. While they don’t look nearly as good as the incredibly realistic and effective newer stuff in my arsenal, they still work when a big spread is needed; joining a cast of characters that varies in origin but, ultimately serving the same mission. I have two bags of such decoys relegated to this type of duty that are always ready for deployment. Last season, they spent three days bobbing around in flooded corn with roughly two hundred other decoys, most of which made them look ugly, but they worked perfectly.
This wasn’t by chance. I could have thrown those old blocks away or passed them on to a young hunter years ago, but I keep them around and seem to use them every season when the situation demands it. They’ve been repainted a few times and have worn a range of different anchors and lines, but over the years, I’ve taken care of them.
Fixing floaters
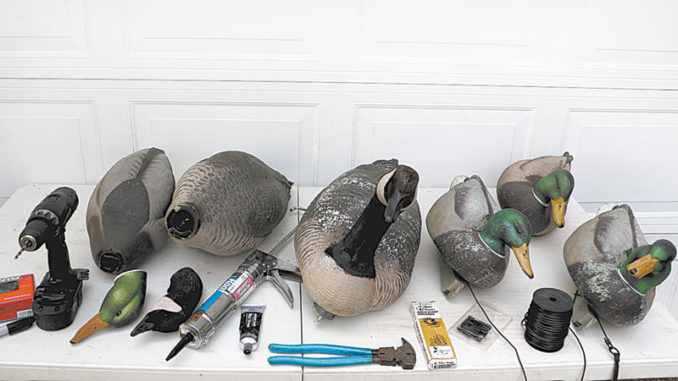
The best way to fix up your old decoys is to tackle them all at once. You’ll need to patch holes, glue keels and heads and apply touch-up paint where needed. You’ll also need to fix or replace missing or damaged lines and anchors. It’s all cheap and easy.
Finding shot holes and cracks is fairly easy but may require some detailed inspection. Use clear or black silicone to patch holes as needed. Take a close look at the base of each keel for hairline cracks, a common problem on decoys that spend a lot of time packed tightly in bags.
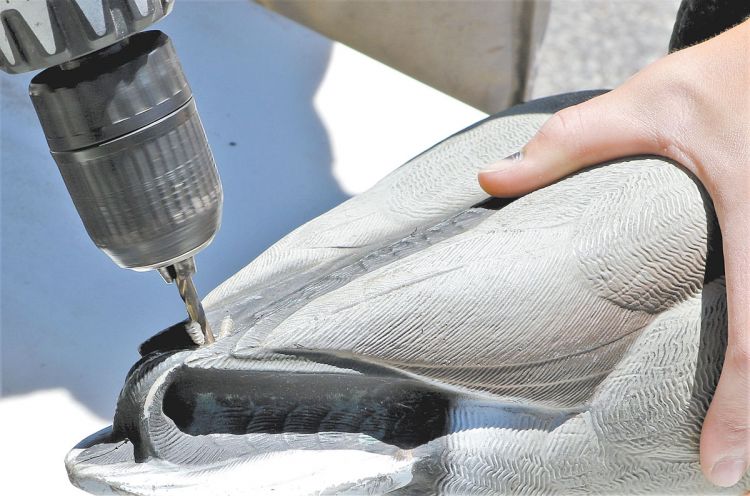
There are several good options when it comes to touch-up paint. One of the best is Bird Vision UV Paint, which works great and is highly recommended for newer decoys. That said, plain satin latex applied with disposable foam brushes can work just fine for decoys on the JV squad. Flat paints tend to look dull after use, and glossy paints have too much shine. Satin perfectly matches the natural sheen of waterfowl feathers. A quick search of the Internet for specific tips on repainting decoys will have you painting with confidence.
Once the holes are plugged, cracks filled and the paint dry, it’s time to repair and replace lines and deal with anchor issues. Have anchors and decoy cord handy, as well as crimps if you’re not into tying good knots. Fencing pliers or similar tools with crimping ability will help ensure those expensive new anchors don’t end up at the bottom of the drink.
Full-body rehab
Full-body decoys and stackable shells need love, too. Over time, heads become loose or broken, and paint becomes soiled and chipped. Scrub those filthy full-body decoys, then fix and repaint them as needed.
Snow goose decoys, in particular, are susceptible to soiling, and while real snow geese do get dirty, decoy spreads have much better visibility and appeal to high-flying birds when individual decoys are clean and pop at a distance. A pressure washer can be used to clean some full-body decoys, but it’s risky for others, as the water pressure may blow off some paint. It’s best to start with a soft brush and warm, soapy water.
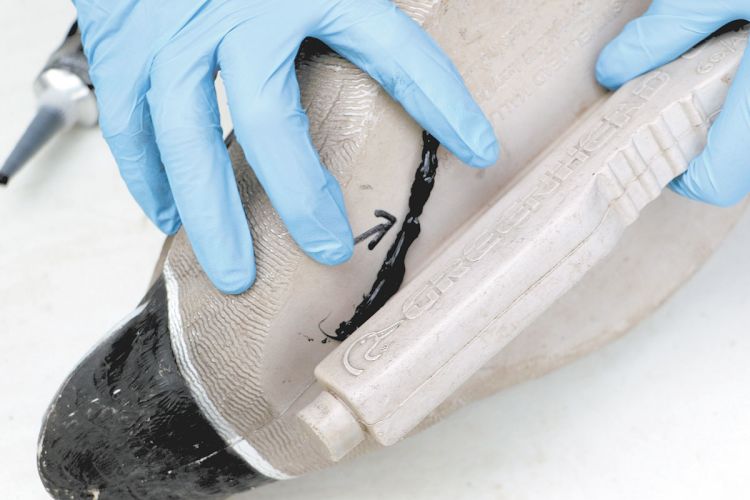
Once the decoys are clean, take a close look at all feet and heads, which can become overly loose or broken. While broken heads can be glued back on, about the only thing I’ve seen that truly holds up to being banged around in a boat is black windshield urethane (which can be purchased at automobile glass repair shops) or permanent, black marine adhesive (3M 5200). Another option is to screw the heads on with short drywall screws and use black butyl-based roofing caulk or waterproof roofing repair cement. These adhesives form a flexible, yet durable, waterproof seal that typically dries flat and blends in nicely with flocked heads on Canada goose decoys.
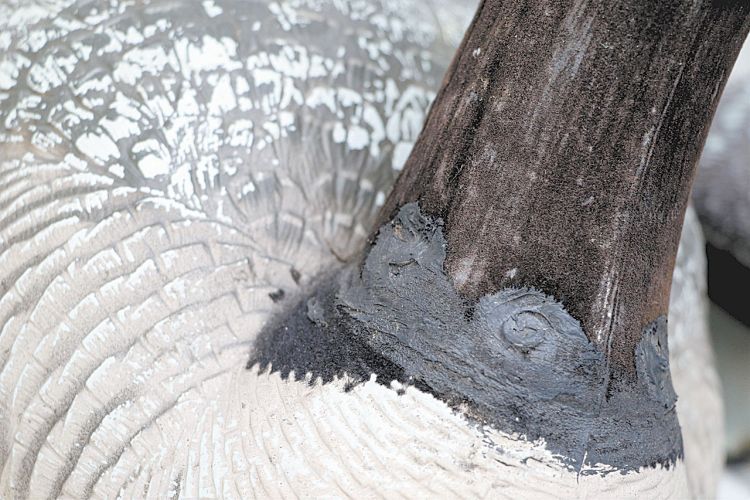
And, speaking of flocked heads, it’s wise to occasionally re-flock or replace well-worn goose decoy heads. However, a low cost, quick-fix is to use satin black Krylon Fusion for Plastic paint on flocked heads that are peeling or faded. The flat white Krylon Fusion also does a great job of freshening up cheek and rump patches. Just be sure and mask off the darker paint so you don’t bleed over into the body of the decoy.
Newer models
Some of the newer decoys on the market are molded with flexible materials that won’t crack or split and are marked flawlessly with paint that doesn’t chip. These decoys absorb shot with amazing resilience, and every waterfowler should consider upgrading the starters in their line-up. Ten years from now, it’s highly unlikely you’ll find Avian-X decoys needing repairs, so they are well worth the modest investment. They just work better.
But even the best decoys out there still need occasional work on their anchors and lines, especially if they were in the care of that guy. A little TLC can bring older blocks back to life, so when you need to greet those northern red-legged greenheads with a great big welcoming party they are all ready for the show.
