Braiding line offers great connection
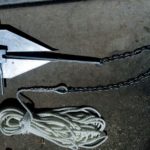
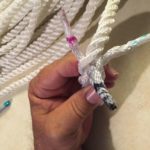
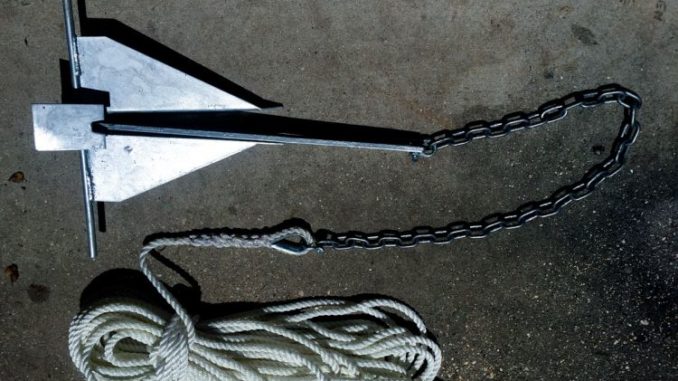
User “smokinburger” posted step-by-step instuctions on how to create a loop that is perfect for attaching anchors and with other boating uses — and pretty much anything else with which a loop can be helpful — on the LouisianaSportsman.com forum.
Items needed include 3-strand rope, a knife, scissors, scotch tape and a lighter.
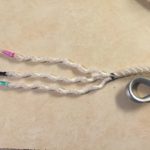
Following are the steps.
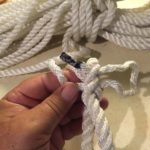
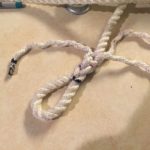
1. Tape each end of the rope strands to keep from fraying, and tape the rope 7 to 8 inches down to keep the rope from unraveling.
2. Wrap the rope around a thimble and make the loop slightly smaller than the thimble.
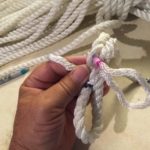
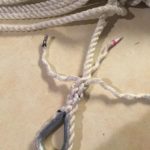
3. The rope is color coded: black, pink and green to make instructions easy to follow. Unravel the strands to the tape.
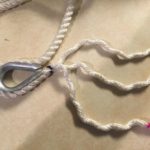
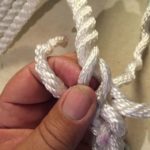
4. The black end is the middle of the three stands; separate a strand of the main line where the loop will start and pull the black end completely through.
5. Separate the strand to the left, which is the pink end, and pull it completely through.
6. Roll the rope over and do the same for the green end.
7. Pull each end — black, pink and green to create a loop. Check the loop size
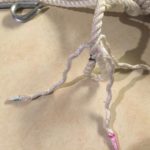
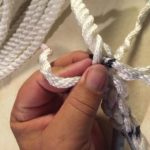
8. Use the black end, and go over a strand and under the next; pull it through until tight.
9. Use the pink end, and go over a strand and under the next. Pull it through until tight.
10. Use the green end, and go over a strand and under the next. Pull it through until tight.
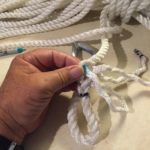
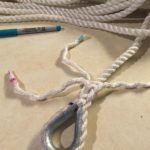
11. Insert the thimble, and make sure the fit is tight.
12. Two braids are created. Repeat until all of the ends are used to complete the braids.
13. Cut the ends and burn the tips.
