 I’m often galled to see completely rational people spend more than what a nice home costs on an offshore (or really nice inshore) boat, tow it with a truck with a pricetag approaching six digits, and buy the nicest rods and reels available, and then leave them in the corner of a shed or utility room for the offseason, where they get dusty and potentially damaged. Saltwater rods and reels are pretty. You should be showing them off! I hear the same complaints about commercially available rod racks from these same people. Initially they are too cheaply made, and nothing fits, which is true of the “one size fits all” style that you find in big box stores. Or the custom-built ones cost way too much. Finally, the ones that are used in tackle stores are too big for someone’s home or garage. Fear not, there is a better solution!
Do it yourself
It’s not hard to build your own, truly custom rod rack, that works with the space that you have available. The most space-efficient way I have found is to mount it to the studs on the wall of your garage or outbuilding. You can make a single row rack as long as you can find straight lumber. The key is to measure the distance between the edge of the reel to the center of the rod butt to start your rack, then get a good measurement from the center of the rod butt to the edge of the reel handle, so you know where to drill the next hole. Leave yourself at least ¾-inch worth of play as well, so you can easily take a single rod and reel out or put one in, without hitting the one next to it.
Make these measurements for your own set of rods, and add a few holes, in case you add to your tackle assortment later. Mark where your holes go down the length of the board you are starting with. Then, cut a board that is exactly the same size as the first one, clamp one exactly on top of the other, and drill your holes straight down, using a 1/8-inch bit. A drill press works best, but if you don’t have one, use a drill block. The more vertical the holes, the better everything fits together in the end. By the way, you want to scale your lumber to the size of the rods it is holding, and especially the weight of the outfits. If you have a collection of spinning rods and baitcasters for redfish, you are just fine using ¾-inch common board. If you have big trolling outfits with 50W and 80W reels, stud lumber is probably the way to go. I’d love to build some racks out of good, solid oak, but have you seen the price tag on it lately?
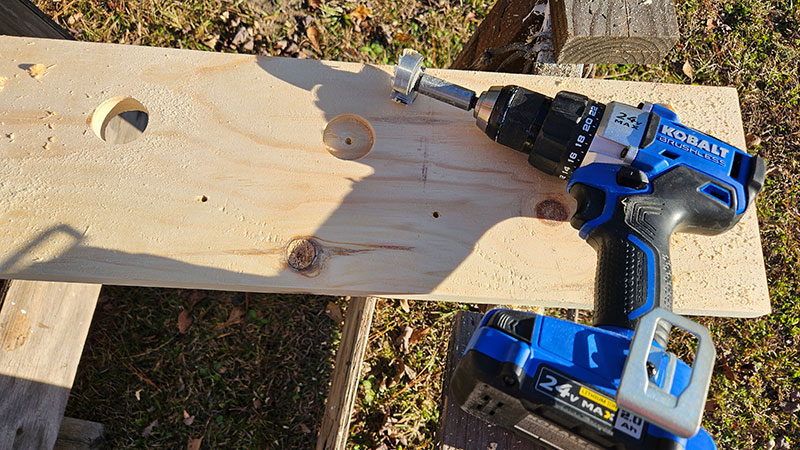
When you have your two identical boards with identical holes, the fun begins. One board will be drilled out to accommodate the rod butts, so get the diameter of your butts at the widest point. You want to cut vertical holes that are just a tiny bit wider than the butt. The tighter the fit, the better the rod will be supported. I just finished up a rack built exclusively for kingfish rods, and a 1½-inch Forstner bit made perfect holes for the job. You can use a hole saw also, but the Forstner bits just cut a bit cleaner.
Smooth it out
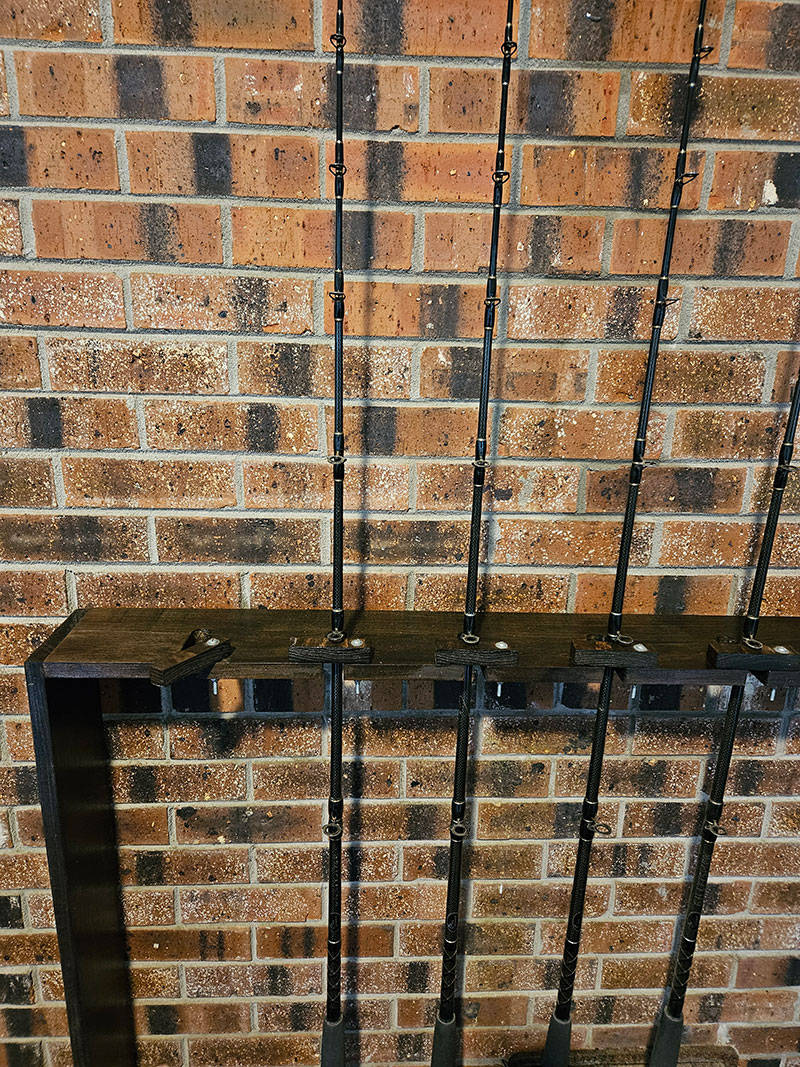
 Once all the holes in this board are drilled, you can go ahead and sand/stain it. The next step is to build the top, where the rod blank itself is held in place. I used a ¼-inch Forstner bit to drill those holes out (this is why we drilled the two boards vertically) and then used a rafter square to pencil in lines from the far outside of each hole to the near edge of the board. Then I cut those lines with a compound, sliding miter saw. You have to flip the board and do both sides when you do this, and sometimes the inside piece still doesn’t quite detach fully. A few seconds with a coping saw or jig saw will solve that. Take a Dremmel and clean up any burrs left until all holes and slots are clean. Then sand/stain this board as well.
If you’re mounting your rack on the wall, it’s fairly easy to slap on a backing piece to each of these boards, measure it out, and screw it to the studs. Just make sure you measure the height at which you want each of your boards so that the bottom piece supports the rod butts high enough and the top piece doesn’t interact with any rod guides. You’ll also want to add in some system to “lock” the rods with the top piece. I have experimented in the past with cutting small pieces of the same size wood, drilling through these pieces and the rod rack vertically, and securing with a bolt and locknut as a hinge to make a “gate” for each slot. It works, but it’s way too much work. Barrel bolts actually work better and all you have to do is measure, drill, and mount. Just make sure to use brass or stainless, or you will deal with rust very quickly.
Make it mobile
If you want to take it a step further, you can make a mobile rod rack. Use a wider cut of lumber, at least 8 inches, and drill holes on both sides. Add a third identical board with no holes. This takes the place of the “floor” in a wall-mounted rack. You will have to add sides and casters as well, but you now have a rolling rack with double the storage.
As with custom homes, the “fit” and the “finish” give your personal rod rack its value. You now have a rack that fits your individual rod collection. Take your time and give it a true custom finish. Use the pre-stain soak and give it two coats. When that dries, give it three coats of polyurethane and make it glow. Use a woodburning needle and write your name or your boat’s name on it. Or, cut another board to use as a center support and work in a piece of marine art, like a copper fish. If you make it nice enough, your significant other might even let you put it in the living room.
If I ever get the nerve to leave my current field, I might just start building rod racks by day and writing at night. When I’m not fishing, that is.
Do it yourself:
Some ready-built rod racks are either insanely expensive, or just too small or shabby to hold high-quality fishing rods. So building your own is the best solution, and gives you the option of customizing it specifically for your own rods.
The post “Build a true custom rod rack” first appeared on CarolinaSportsman.com.