
You can with these expert tips.
If you’re enjoying SweatFest 2019, then you’ll love August. Hottest temperatures, highest humidity, and the peak period for tropical storms. And with the exception of offshore, a fairly unproductive period for fly anglers.
Many of us look to the dog days of summer as an opportunity to indulge in the art of the sport, in preparation for great fall fishing. For a few, that “art” will be building a custom rod.
Why build a rod?
In some cases it can save you a lot of money. It also allows you to build with the colors and components of your choice. In many cases, those will be nicer than most factory rods.
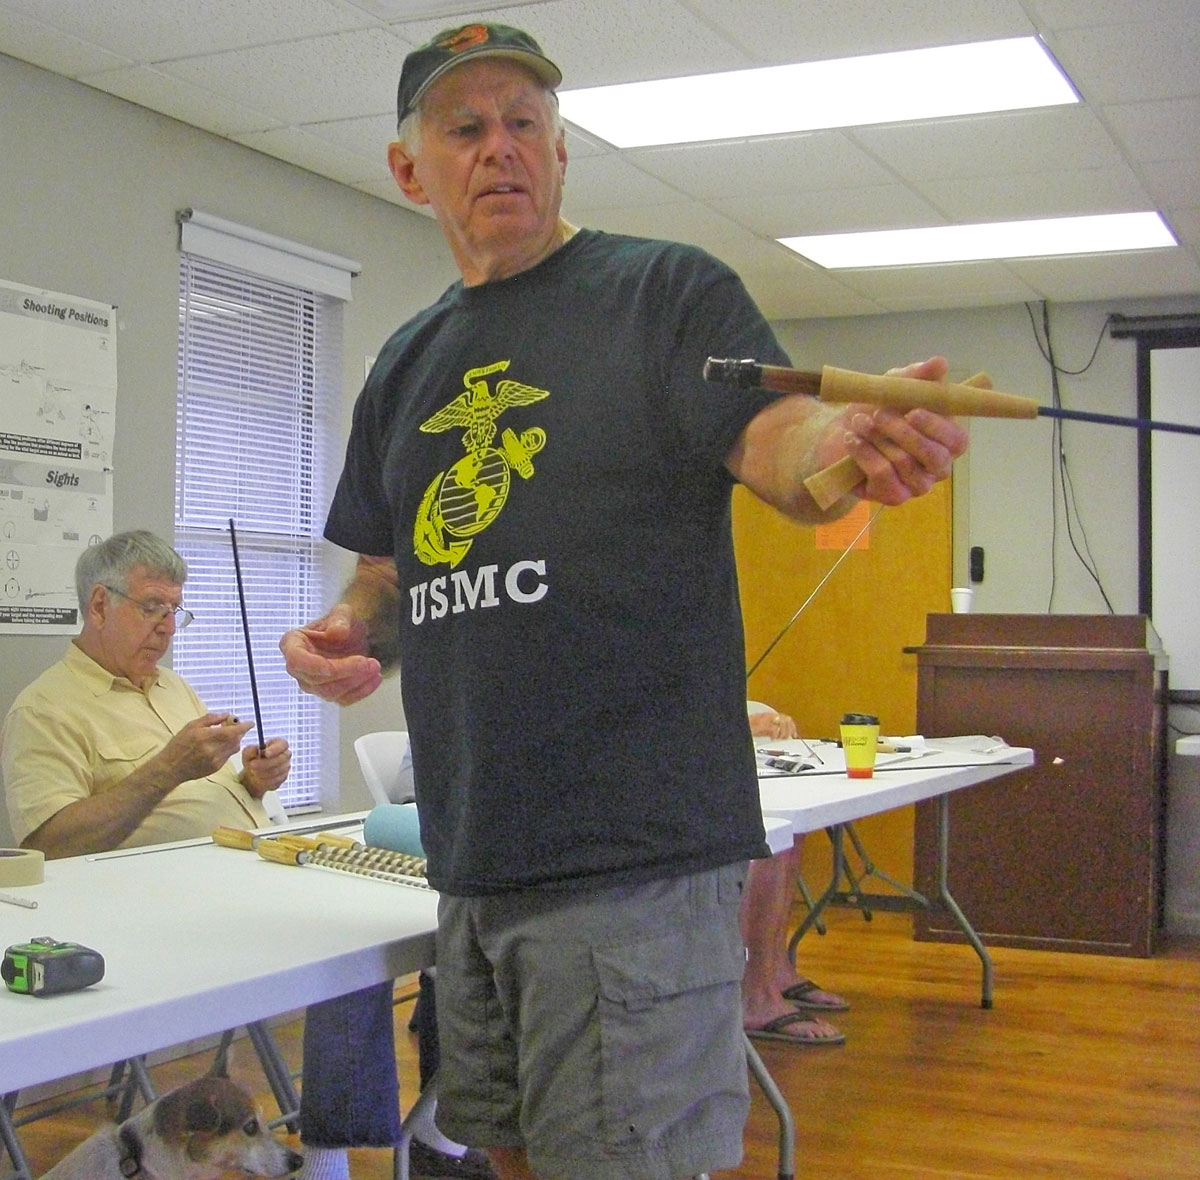
But as my friend Roger Breedlove of Alexandria, who has built dozens of custom rods, likes to say, “The only thing more gratifying than catching a fish on a fly you tied, is catching that fish on a rod you built.”
Selecting a blank
Rod builders have many options that factory rods can’t offer. For example, St. Croix retails its blanks through RodGeeks, which offers builders a wide selection of colors beyond the standard color on the St. Croix factory rods.
A growing number of rod builders are selecting the new lightweight fast-action S-glass fiberglass blanks. There are still only a handful of companies building rods on these blanks.
If you’re looking to save lots of money, most premium rod companies offer the blanks for their high-end rods. For example, the top-rated Sage Salt HD sells for $950. The blank sells for $475.
However, Breedlove strongly advises that first-time builders choose an inexpensive blank for their first project.
“You’ll learn a lot making that first rod. Save that expensive blank for when you’ve had some experience. There are a good number of IM6 and fiberglass blanks for under $80 that make really nice rods.”
Selecting components
Components consist of the cork grip, reel seat, guides, winding check, tip top and optionally, hookkeeper and fighting butt.
A general rule of thumb is to go with western, half-wells or cigar grips on 5-weight blanks or less, and full-wells grips on 7-weight and higher. In general, most saltwater rods use a full-wells grip.
Make sure the grip is long enough, Breedlove advises. A short grip is okay on a short rod, but anything less than 7 inches on a long rod will seem uncomfortable after a day on the water.
Wood-inserted reel seats are a good choice on freshwater rods, while anodized aluminum seats are more functional for salt rods. Graphite reel seats match up with all rods and come in many color choices. Some seats also have engraved images.
Selecting guides
Stripping guides are the first guides up from the grip. These large round guides have ceramic or hialoy inserts and are supported by frames. All other guides – except for the tip-top at the end of the rod – are running guides. These can be either snake guides or single-foot guides.
Snake guides are the choice of most fly anglers because of their durability.
Breedlove prefers single foot guides on his rods. They add less weight, mostly because only one wrap of thread is needed to hold them in place.
He also adds a hookkeeper on the underside of the blank to hold the fly when not in use.
Preparation
Before getting started, Breedlove has a list of needed items: rod building thread, masking tape, 5-minute epoxy, mixing sticks, mixing cups, brushes, a tape measure, scissors, white marker, aluminum foil, and paper towels.
The guides need to be prepared. Most guides have burrs or sharp edges on their feet which you can grind down with a small file or sandpaper.
Next comes one of the most important tasks: finding the blank spine.
According to Breedlove, this is a step most cheap fly rods bypass. When creating a blank, materials are bonded to the mandrel making for a stiffer part of the blank cylinder, called the spine. A rod with guides aligned across from the spine casts further and more accurately.
To find the spine, lay a blank section horizontal on a table and put upward pressure on one end, while holding down in the middle with one or two fingers. Roll the blank. Where it meets resistance – and “jumps” – that’s the spine.
Do this for each rod section. Mark 180 degrees (on top the blank) from the middle of where the “jump” is. That’s where the guides should be placed.
After this step, assemble the blank sections together and measure off where the guides will sit. If the blank didn’t come with a guide spacing list, there are a number of generic spacing charts online. Pick one that matches your blank’s length and weight rating.
Affixing seat and cork
Assembling the seat and grip begins with marking their locations on the blank. To do this, slide the seat down and mark where it ends. Then slide the grip down and mark where that ends.
Bushings made from masking tape will hold the seat firm in place. It usually takes 3 bushings of 1-inch tape, leaving small gaps in-between.
If the cork won’t slide down to the seat, try reaming with a round file until it does. If it’s too loose, Breedlove suggests adding masking tape to the blank across the grip area.
Once everything is snug, mix the epoxy and apply on the blank from the grip mark down into the bushings. Then slide the reel seat and cork grip down in that order, rotating each to ensure epoxy is equally spread.
Make sure the seat is aligned with the guide markings before standing the section in a corner to dry – usually 10-15 minutes.
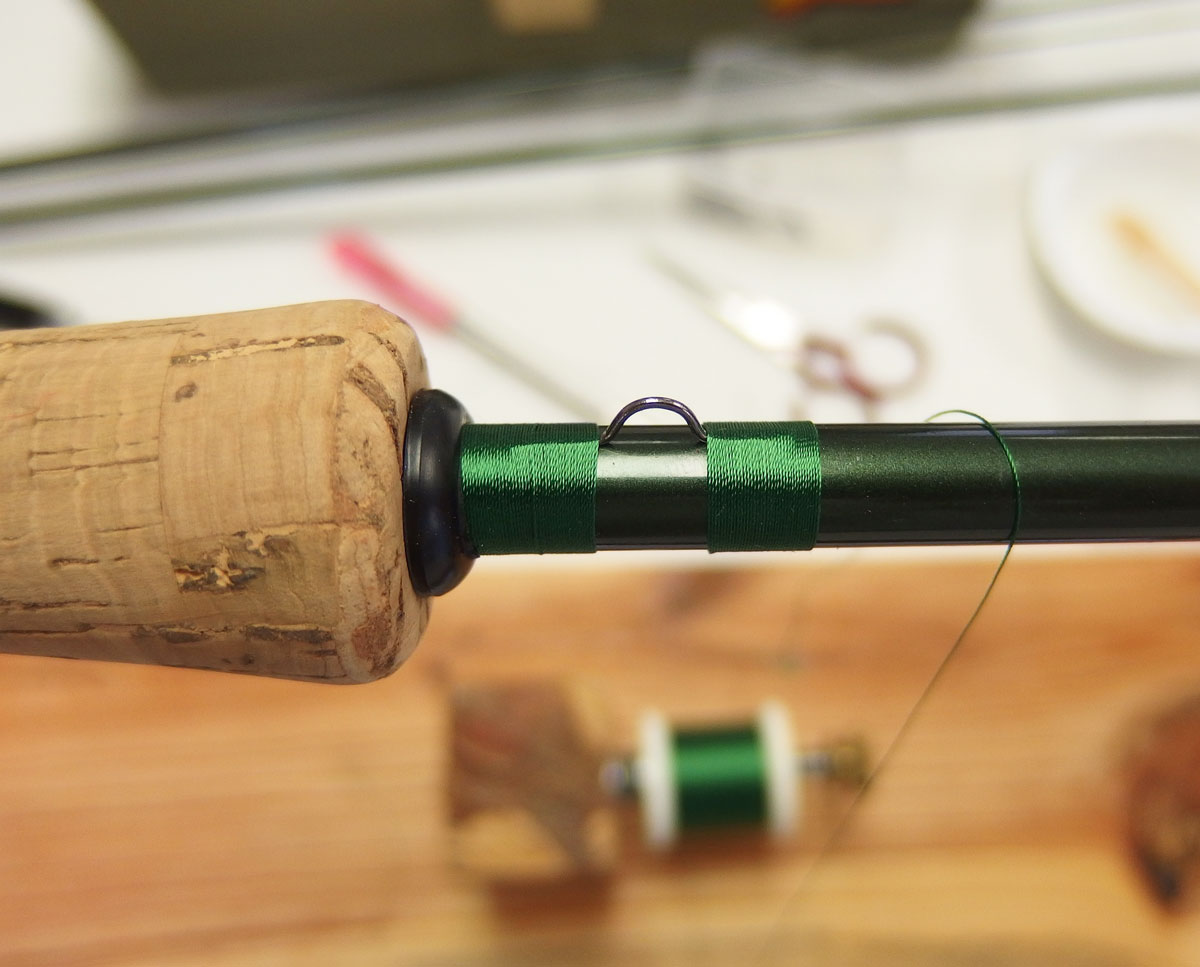
Wrapping the guides
Before wrapping the thread on the guides, Breedlove likes to affix the guides to the blank using tiny strips of masking tape. Do this away from the foot end of the guide. Once the thread wraps have covered most of the feet, remove the tape to finish wrapping the guide.
Breedlove does his wrapping by hand. He points out that, if you develop good hand wrapping skills, building a rod will take a lot less time.
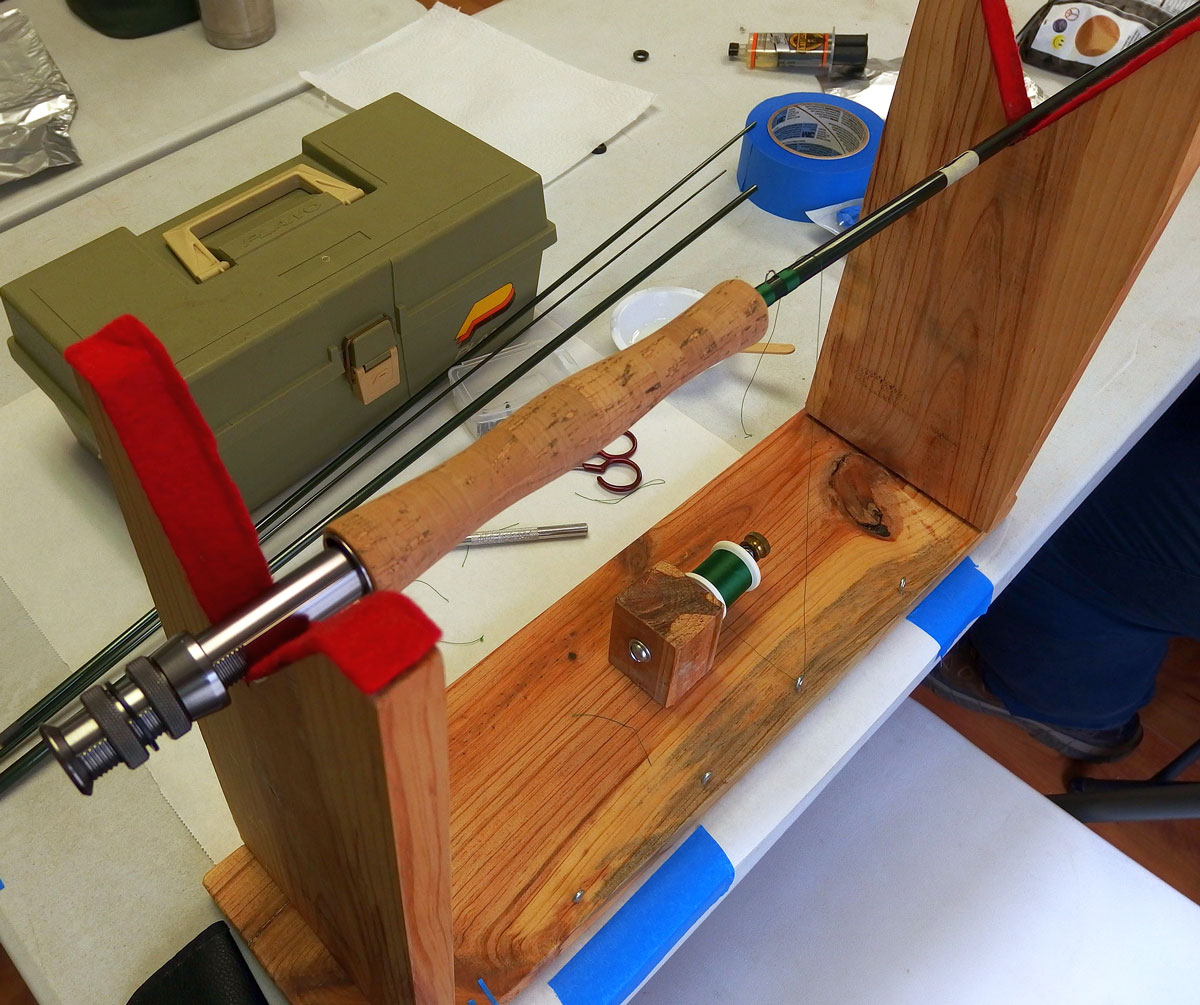
While I tend to agree, most novices will find a wrapping stand useful – and less painstaking. While commercial stands are available, making your own is cheap and easy. There are numerous instructions online for making your own.
For instructions on wrapping guides, I defer to YouTube. There are several very good guide wrapping tutorials.
Finishing the rod
To protect the wraps, you need a flexible, waterproof, and tough finish. Breedlove prefers Flex Coat for it’s high UV resistance.
Before coating the wraps, you’ll have to decide whether to use color preserver on the threads. The preserver retains the original color. No preserver makes for a translucent look.
Flex Coat takes about 8 hours to cure. To prevent dripping, a slow turning motor is required. If you tie epoxy flies, then you probably have such a motor. Some use a barbecue rotisserie motor with an adapted head.
After mixing the epoxy, Breedlove suggests pouring it onto a paper plate or aluminum foil to reduce heat (heat is bad!). Then turn on the motor, and brush the epoxy over the wraps carefully.
Breedlove warns that it usually takes a full day before the wraps are rock solid hard. After which, take your new rod fishing and enjoy!
Fishing forecast
As mentioned, August can be a tough time for fly anglers – with a few very notable exceptions.
The first is Spanish Mackerel. They’ll be cruising the beaches and passes. Toss a Clouser or other slim-profile baitfish pattern into a school and strip fast, and hold on for a vicious strike!
Then there’s jack crevalle. These will be busting mullets along beaches and in bays, and especially in Lake Pontchartrain. They too love large baitfish patterns. Hook one out of a kayak and you’d better have your passport ready for Cuba.
Tackle requirements include a 10-weight rod or higher, a disc drag reel holding at least 200 yards of backing or more, and either an intermediate or full sinking fly line.
Schools of sand (white) trout are common this month. Small in size, but strong in fight, a sandie in the 11 to 14-inch range on 6-weight rod is as much fun as the law allows! You only need one fly – a heavily-weighted white & chartreuse Clouser Minnow.
What’s happening
- All month – CCA STAR Tournament. Runs through Labor Day. Divisions include Fly Fishing East and West for heaviest speckled trout. Sponsored by Costa del Mar. Website: www.ccastar.com.
- Aug. 16 (Fri) – Fly Tying Happy Hour, hosted by Pack & Paddle, 601 E. Pinhook, Lafayette. 6 p.m. – 8 p.m. Free event. Experienced tiers are welcomed to tie their favorite flies. Others are welcome to watch and talk fishing and enjoy local brewed beer. For details, go to www.packpaddle.com.