Catching bull reds out of Venice is as easy as throwing these massive poppers in the right spots.
Today’s fish finders run many features automatically as well as most fishermen could operate them manually, but there are still times when you can out-think their computers.
The automatic adjustment of depth range, sensitivity and noise filtering make using a fish finder easier for most of us. It lets us pay more attention to surface water conditions and watch where we are going at cruising speeds. And, we can concentrate more on our fishing.
The extra acoustic noise and potential for electrical interference limit the amount of sensitivity that can be used at high boat speeds, so fish finders show less detail while cruising than while fishing.
Manually increasing the sensitivity level while running doesn’t always help because the extra detail you get is usually accompanied by extra interference.
Crank the noise filters up high enough to remove the interference, and you can also remove much of the detail.
It’s a high tech merry-go-round, and unless you are skilled enough to manually balance sensitivity with filtering while cruising, you might as well use the automatic mode.
Fish finders that let you bump the sensitivity up or down a few increments while in auto mode let you tweak the setting without resorting to full manual control. Bump it down a bit when things get noisy, and ease it higher when you want to see more detail.
The automatic mode continues to regulate sensitivity as conditions change, but it adds or subtracts your extra increments of adjustment as well.
The best sensitivity setting is usually achieved by increasing the level until you see interference and then decreasing it until the interference just disappears. The highest practical sensitivity level is necessary to see weak echoes from thermoclines, baitfish and weeds.
Fish finders like some models from Furuno and Navman offer separate auto modes for cruising and fishing. The cruising mode is optimized for handling extra noise and interference, while the fishing mode provides maximum sensitivity for top screen detail.
Most fish finders don’t show a high level of fish and baitfish detail at fast boat speeds, even with manual help. They usually show that something is down there, but you have to slow down and ease back over the same area to really see what the unit has spotted.
Manual sensitivity adjustments are most valuable after the cruising is done and the serious fishing starts. Some units adjust sensitivity automatically by increasing the level until an unbroken bottom contour is displayed and then adding another few increments.
Unfortunately, automatically increasing or decreasing sensitivity to maintain a bottom contour display a certain number of pixels thick can reduce your ability to tell the difference between hard and soft bottoms because the unit strives to make both look the same.
Manually setting a constant sensitivity level results in a thicker indication over a hard bottom and an obviously thinner indication over a soft bottom. Experience provides the best level for each commonly fished bottom depth.
Other factors come into play, but the size of a fish is indicated by the top-to-bottom thickness of its indication. The thicker the fish mark, the larger the fish. Turning the sensitivity up makes any fish mark thicker, and turning it down makes the same mark thinner, so a 1-pound fish can be made to look like a 10-pound fish and vice versa.
A consistent manual sensitivity setting is needed for accurately estimating fish size.
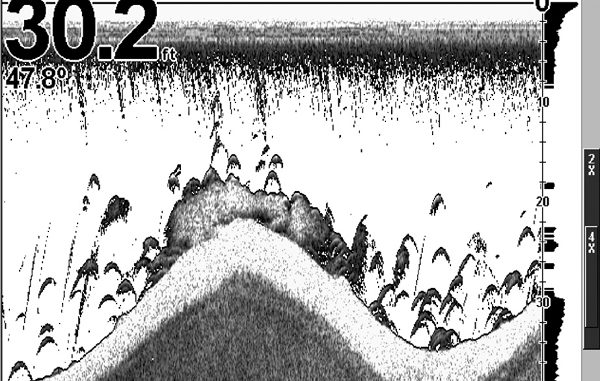
A consistent manual range setting can also be important. A fish that looks like a 10-pounder on the 0- to 30-foot scale can suddenly look like a 3-pounder after an automatic shift to the 0- to 60-foot scale. You can mentally compensate for the different views, but setting a range deep enough to show the bottom anywhere in the immediate fishing area stops the automatic range hopping and limits your brain strain.
Don’t worry about permanently skewing your fish finder’s screen picture, experiment away with manual adjustments. There is a golden option somewhere in the setup menu that resets everything to factory default settings so you can start over.


