
Know the plan before you run the route
My farm in west-central Mississippi is my personal field laboratory for experimentation with trail camera techniques and practices, as I continue to study and learn about local buck patterns.
When used fully and properly, trail camera data can become one of the most effective tools in a hunter or property manager’s toolbox. This is true not only from an overall deer population survey standpoint, but also from the hunter’s standpoint as one learns how to convert piles of trail camera photos into predictions about deer movement.
Over the past several years, as I sought ways to maximize the return from my trail camera efforts, I gradually developed, through trial and error, a system for dealing with multiple cameras and memory cards and a constant flow of photographic data that rolls in week after week throughout the deer season.
The real trick here for a hunter is being able to quickly and efficiently winnow the photo data down to kernels of meaningful and actionable information.
A constant flow of trail camera photos can be extremely intimidating and time consuming to deal with. What would appear at first to be a daunting task can really be made quite easy by becoming organized and utilizing certain basic procedures.
To begin with, I dedicate at least two specific digital memory cards to each individual camera in my working pool of trail cameras. This particular procedure is very important when you are dealing with multiple trail camera makes and models with each having unique camera software and possible card formatting differences.
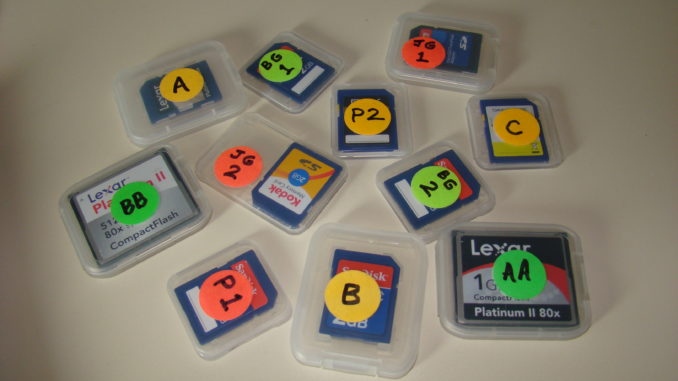
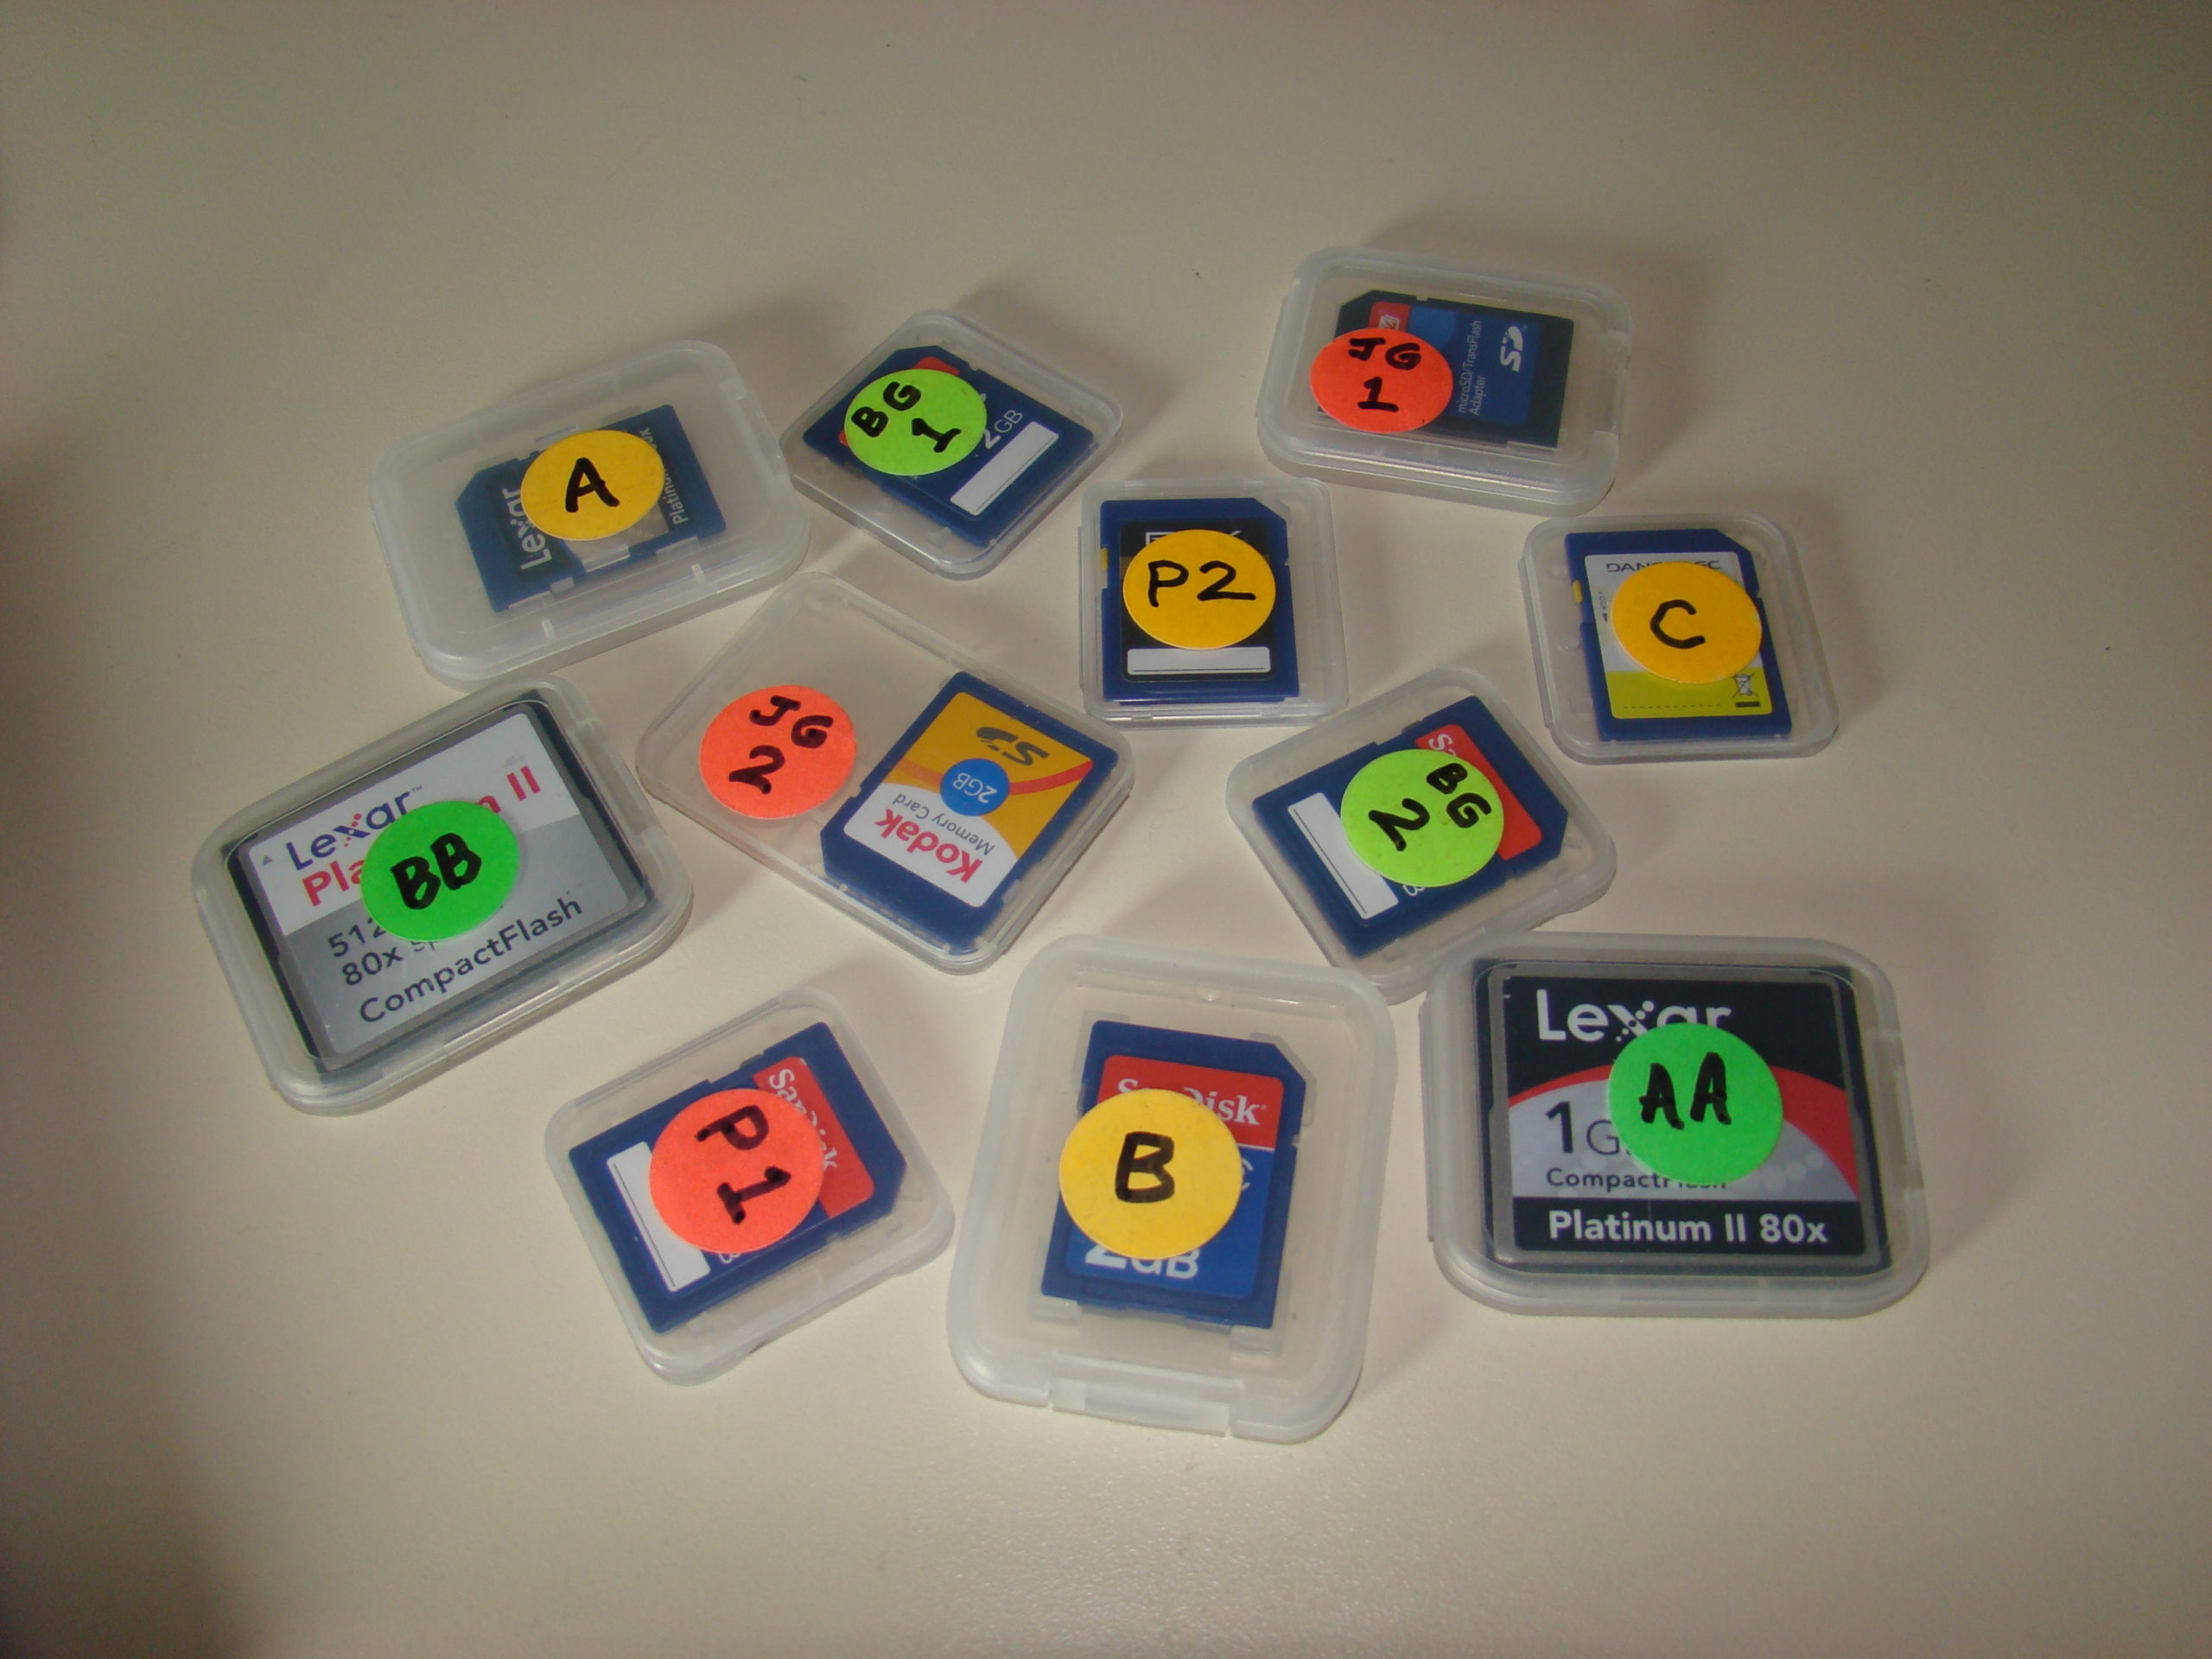
To guard against lost photo data and ruined or corrupted memory cards, I do not swap and share memory cards between cameras. To keep it all straight, my cameras and their dedicated twin memory cards are all marked with ID tags. I use the large fluorescent-colored dot stickers, such as what you would use to price garage sale items, to pair a particular camera to its dedicated set of memory cards. An identifying colored dot sticker is placed on the inside of each trail camera and on the plastic memory card cases that are dedicated to a particular camera. I mark each set of three stickers (covering one camera and two memory cards) with an alpha-numeric ID using a black Sharpie.
When my cameras are out, one of the two dedicated memory cards for each camera is always installed and in operation storing photographs, while the remaining alternate memory card for each camera stands ready for rotation into action during the next camera site visit.
The more organized and methodical you are, the more efficient and quicker you will be when making your rounds to swap cards, check batteries and check set-ups. These techniques result in less time spent at each camera site, less scent left at the site and less overall impact made on the immediate area.
This is where my handy trail camera “go bag” comes into play. Consider purchasing a basic camo fabric shoulder bag that contains several zippered compartments, within which you place all of the items that could potentially be needed when you run your camera circuit.
My personal list of trail camera “go bag” essentials contains the following items:
1. Small zippered pouch to hold my set of duplicate memory cards.
2. Leatherman tool and screwdriver for possible repairs and camera installation.
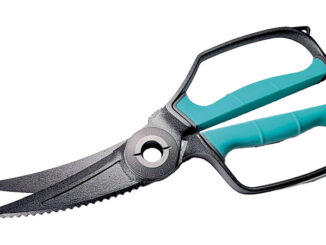
3. Small set of lobbing shears or hand pruners to clear brush out of the way when setting up a camera site.
4. Extra sets of trail camera batteries.
5. Extra tree straps, bungees and camera attachment hardware.
6. Camera operation instruction pamphlets.
7. Small notebook and pencil to keep track of camera locations.
8. A couple of sticks or dowels of varying diameters for use in cocking or tilting cameras at certain locations.
I can assure you that all of the items listed here will be used at one point or another, and there is no worse feeling than to creep into a remote camera site only to find that something vitally needed is back at the camp or truck. When you are managing a number of cameras, you might be surprised how often you refer back to your camera location notebook, especially when you are moving some of your cameras around from week to week.
Additionally, the need for sticks or dowels in your bag might seem strange to some readers, but I have found that in certain circumstances it is best to place a trail camera at or just above head height, which usually necessitates tilting the camera downward a few degrees. This places the camera in a much less noticeable position to passing deer and in the case of antlered bucks you often get a better view of the rack, especially at a feeder site.
Next month in Part 2 we will explore in detail how I save, organize and store my ever-growing bank of trail camera photos.