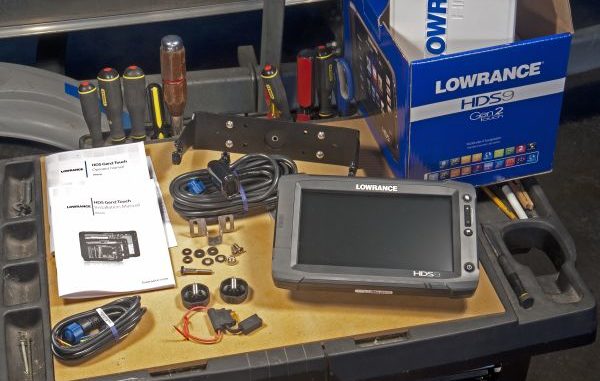
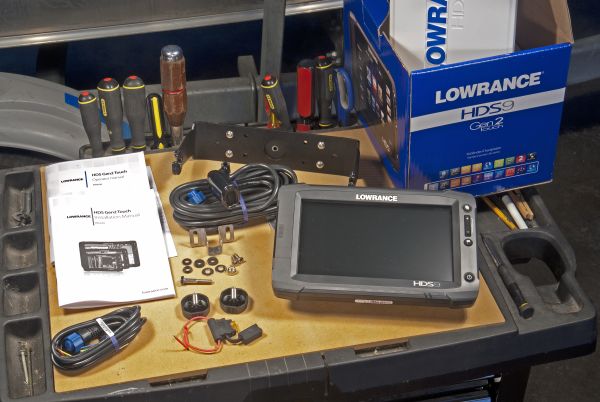

Modern finders are powerful scouting tools
Strangely enough, the reservoirs on our nation’s river systems were not originally constructed to give us places to fish; they were built to control traditional spring floods that destroyed crops and homes.
Lowering the water levels in reservoirs during the winter allows any dangerous spring surplus flow to be trapped by the dams and just refill the reservoirs instead of roaring over riverbanks and washing away everything in its path.
Historically speaking, drawdowns typically lowered water levels 10 to 30 feet and left all of the most popular shoreline fishing structure high and dry. Serious fishermen could walk these normally submerged areas and photograph the stump fields, fallen timber, brush piles, rock piles and man-made cover like anchored Christmas trees, stake beds and man-made reefs.
This was also a great time to carry a pair of pliers in your pocket to recover snagged lures from the previous season. You could walk around the structure features and look them over carefully, figure out where fish would most likely position themselves and even determine the best casting angles to reach them.
Detailed notes accompanied each set of photos, including diagrams showing how nearby shoreline objects could be used for triangulation to find each bit of structure after the lake filled back up and hid it.
Drawdowns are unnecessary where drought has permanently lowered reservoir water levels and left plenty of room for spring floods that would, quite frankly, be welcomed.
Where drought has made those old-style photo trips impossible, new side-looking sonar systems capable of presenting photo-like pictures of the now permanently submerged structure can replace them. They can not only give us a detailed look at these spring fishing spots, they can help us examine deep-water cover and structure that stay hidden even during the severest drawdowns.
Better yet, when we come back to fish the spots they can show us if the fish are currently using each piece of structure; if they aren’t we can move on rather than wasting time casting where nobody is home.
So, how do we find and mark fish-attracting bottom structure today? We can start by following the advice of legendary bass fisherman Bobby Murray.
Back when bulb-type flashers and paper chart recorders were state of the art, Murray told me he turned on his sounder when he launched his boat and didn’t turn it off until he put the boat back on the trailer. He said it led to the discovery of new places to fish almost every time he went out on the water.
He’d watch his flasher out of the corner of his eye while cruising between spots, and when it showed a sudden change in the bottom depth or gave a cluttered bottom reading he stopped, turned around and made a slow pass over the spot to examine it.
We can do the same thing today but with equipment that gives us a much better look at what is under our boats.
Experts like Bobby and his twin brother, Billy, could look at the dancing lights on a flasher screen and describe what was down below with spooky accuracy. Those of us who have never made a living from a boat seat might have trouble matching their skill without the interpretive help provided by today’s down- and side-scanning units that show rocks that look like rocks, trees that look like trees and weeds that look like weeds.
Marking a new spot is the first step in examining it. If I pass directly over a new piece of fishy-looking structure, I’ll go completely over it and look at the combined pictures from the down- and side-scanning beams. If it looks like I’m to the right or left of its center, I’ll turn around and correct my path to pass over its center.
When I accomplish that, I mark the center of the spot by saving it as a GPS waypoint.
If I first discover the spot on one of the side-looking beams, I move the screen cursor over to the center of it and mark it as a waypoint. I’ll then move directly over it, find its center and, if I feel that I didn’t get it marked perfectly using the screen cursor, I’ll save a corrected waypoint and delete the original one.
After I mark a waypoint, I’ll switch the display to a full-screen side-looking view and turn on the feature that lets me record the scrolling screen picture, and then I’ll ease the boat past the structure in four straight-line passes heading north, south, east and west while keeping the structure in the middle of the box-shaped pattern.
Today’s side-looking sonars can operate at either 455 kHz or 800 kHz, with 800 delivering the best detail and therefore being my choice for making these recordings. Armed with these recordings, I can study the structure later, form a fishing plan for it and enter the details in a notebook.
Naming each waypoint and structure recording rather than just numbering them can make them easier to find on your unit’s lists. “Xmas Tree Reef,” for instance, makes instant sense to me while “156” does not. You can also choose different icons to mark different types of waypoints on your screen.
When you return to a spot to fish it, I suggest approaching it with a series of side scans so you can see it without running the boat directly over it and spooking any fish that might be using it. You can see how many feet you are away from the structure displayed on the screen, making it easy to cast right to it.
Sonar units like the Humminbird 360 and Lowrance models equipped with SpotlightScan let you move straight at the structure and show you exactly where it is in relation to the seat of your pants as you cast to it.
The last important step is to make sure you back up all your waypoints multiple times. Save them to your computer and to a CD or memory card. Someday I’ll tell you the sad story of the coastal fisherman who saved spots for years on a handheld GPS unit that he managed to drop into a fast tide while stepping from a boat to a dock ….